Whether it's a print, canvas, or framed wall art, the right picture can transform a room. Often overlooked, there is an art as to the correct way to hang a picture. Even a DIY pro can struggle, but with our expert tips, you can rest assured you can hang your picture perfectly every time. With our picture hanging guide, you are sure to get the most out of your Green Lili prints and breathe life into your decor.
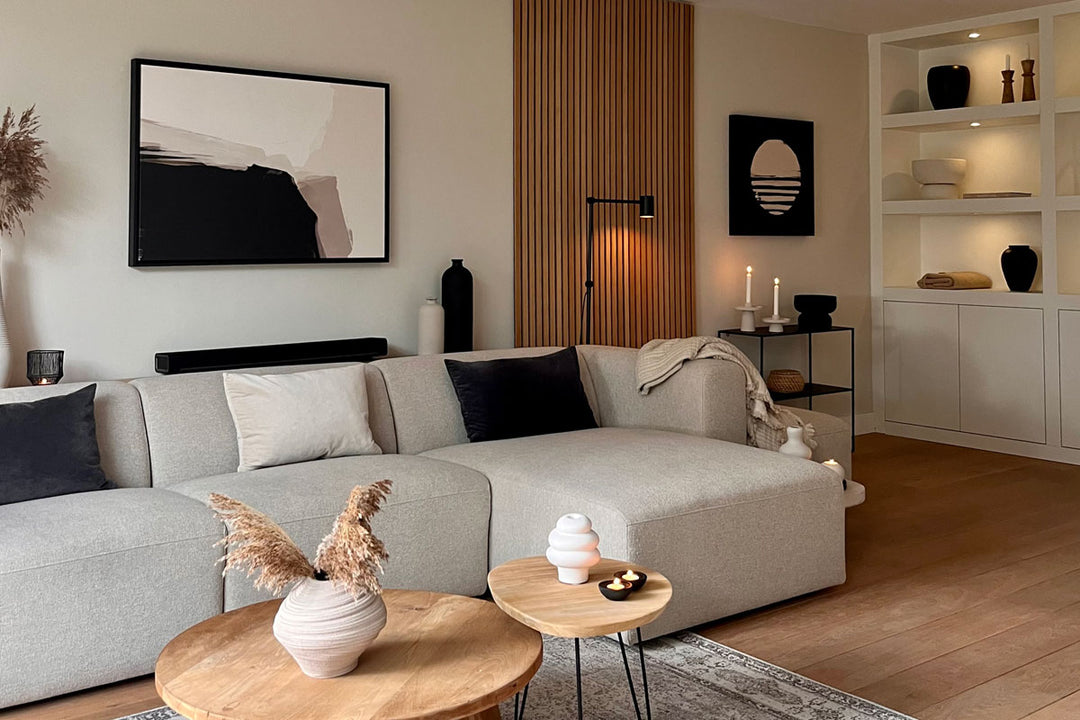
 Prints: Blue & Grey Abstract Wall Art Set - Image Credit: @the_indigo_house
What Do You Need To Hang A Picture?
- Tape measure
- Pencil
- Wall fixing suitable for your wall type – nail, screw, double headed hanger screw, wall plug
- Power drill for masonry walls
- Hammer
- Screwdriver
- Spirit level
The Method Behind Hanging Pictures
When choosing the most appropriate way to hang your artwork, it will mainly be decided by the type of picture you are hanging. Different sizes of art will require different methods of hanging.
How To Hang A Large Picture
When hanging a large picture the first thing to consider is the type of wall to hang on. Generally if your large picture is heavy it’s best to make sure it’s hung on a masonry wall (brick, stone or concrete) so that it can take the weight.
All of our framed prints are lightweight so even our larger pieces can be hung on a stud wall (wooden frame covered with plasterboard panels), which is great given that most modern houses are built this way.
To hang on a stud wall follow these steps:
- Hammer a nail, or insert a screw into the wall
- Hang art over your chosen wall fixing
- Adjust from side to side to straighten
How To Hang A Small Picture
When it comes to hanging a small picture it’s important to think about it’s position so as not to look lost when hung on the wall. Perhaps place over furniture to help ground it, or hang as part of a set either next to each other or stacked one above the other to help fill the wall space. Please follow the steps above for hanging.
 Prints: Boho Sun & Moon Wall Art Set - Simi Native American Textile Print - Image Credit: @the_indigo_house
How To Hang A Print
If you’re framing a paper print yourself, follow these easy steps:
- Lay your frame face down on a clean, flat surface.
- Using a blunt knife, slide it under each tab and bend upwards.
- Carefully remove the backing board and place to one side.
With a mount
- If you are using a mount, attach the print to the mount with a small piece of masking tape at the top of the print, then let the paper print lay flat. If you stick the paper print down at the bottom and sides too, this can cause the paper to warp and ripple resulting in unsightly gaps forming between the print and mount.
- Lay the print and mount face down on the glass – a good tip here is to carefully lift the frame whilst placing one hand on the back of the print and mount, to check the print is sitting in the correct place.
- When happy with the placement, carefully lay the frame back down and place the backing board on top ensuring the hanging tab or string is at the top of the artwork.
Without mount
- If you’re not using a mount, simply lay your print face down so it is sitting flat on top of the glass, making sure there are no bubbles or creases.
- Place the backing board on top ensuring the hanging tab or string is at the top of the artwork.
- Bend all tabs back down flat to the backing board to secure.
And there you have it, now follow the steps below to hang your framed art.

How To Hang A Frame
Green Lili framed prints are all fitted with sawtooth hangers on the backing board, here is our guide to hanging:
- Framed art looks best hung at eye level, 145cm / 57” from the floor upwards to be precise! (You can find out more about this in our Expert Tips section below). So firstly, mark this point on your wall.
- Next, measure from the top of the frame down to the sawtooth hanger. Note this down, as you will then need to take this measurement away from half the height of your framed print.
- For example, let’s say the distance from top of frame to sawtooth hanger is 6cm. The total height of your framed art is 50cm, half the total height to give you 25cm, now take away the 6cm to give you 19cm. Come back to the 145cm mark on your wall, measure 19cm up from this and make another mark. This is where your fixing will be placed to ensure the centre of your art sits at the correct height.
- Now you have your wall marked, insert a suitable wall fixing (see steps for masonry and stud walls above)
- Gently pull the top of the sawtooth hanger back
- Place the sawtooth hanger over your wall fixing
- Adjust to straighten

How To Hang A Canvas
Green Lili large framed canvas art can simply be hung from the wooden frame, so that the artwork sits flush to the wall. To hang follow the same steps as above, we would recommend hanging a large picture on a masonry wall. To do this follow these steps:
- Drill a hole in the wall (check for pipes first!)
- Push in your wall plug
- Screw a double headed hanger screw all the way in - this will leave the double head for you to hang your large picture on
 Canvas: Half Inclined Framed Abstract Canvas Art - Image Credit: @lcproject_creative
Expert Art Hanging Tips
Now you know the basics, it's time to find out about our expert tips to help you hang artwork like an absolute pro.
Have you heard about the 145cm / 57” rule? If not, welcome to the secret of art enthusiasts and interior designers everywhere. No matter what size or style your artwork is, if you hang it so the centre point of your art is 145cm / 57” from the floor it’s sure to look aesthetically appealing. This measurement is often used by art galleries and museums as it represents the average human eye level, meaning to most people this is the ideal height to appreciate art.
More information about the 57" rule can be found here.
When it comes to hanging large art this is generally done above a bed, sofa or fireplace, which can often sit higher than the 145cm / 57” rule. So it is best to hang your artwork 15-20cm above the furniture.
Hanging Artwork Without Nails
If nails aren’t your thing, fear not as there are still other ways you can successfully show off your artwork without permanently installing it. Have you tried leaning your artwork against the wall?
This is a great way to display your pieces in a relaxed way and makes it easy to change things up! Alternatively, you could try using Command picture hanging strips, simply stick them to your wall and back of frame, and when you want to take down your art the strips can be removed from the wall damage free. Winner!
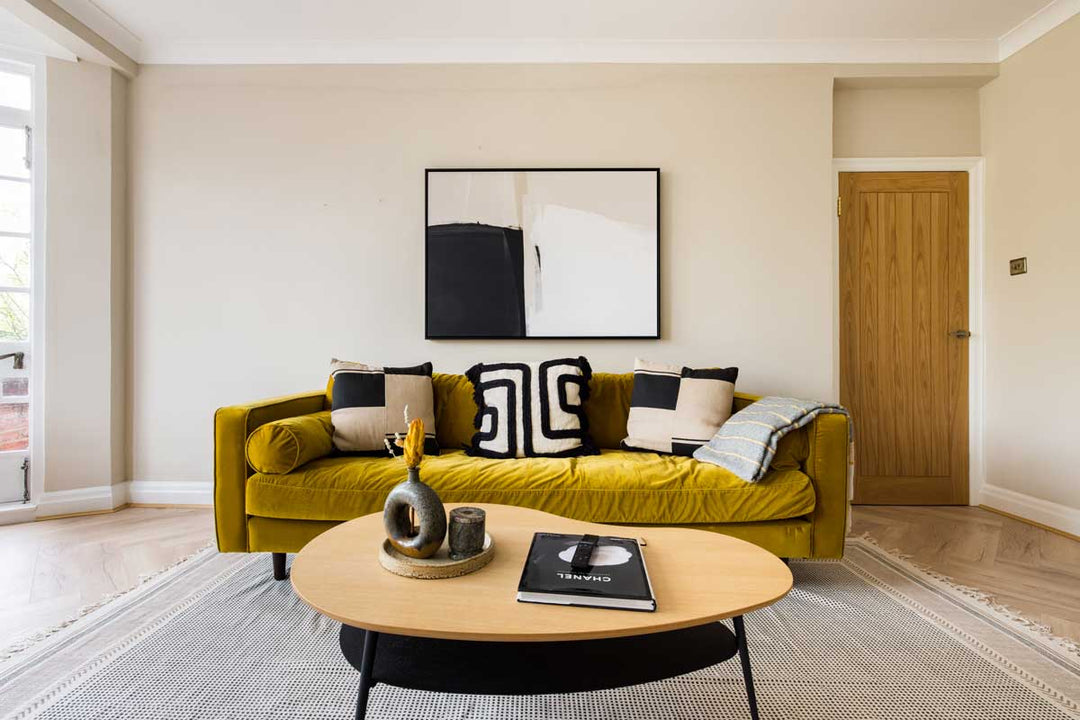
 Print: Inverted Moon
Gallery Walls
Can’t decide where to hang your artwork? Then consider opting for a gallery wall where you can display a selection of your favourite prints that all complement each other! Before heading straight for the wall it’s a good idea to place your art on the floor first, that way you can play around with the layout until you’re happy with it.
At Green Lili we find it works best to start with the largest piece(s) in the middle and work your way out from there, these will be the ones that you hang first applying the 145cm / 57” rule.
Space pieces about 5-10cm apart for a cohesive and uniformed display that doesn’t distract and look messy. To hang each piece simply follow our art hanging guide above but remember to have some fun with it, unleash your creativity adding visual interest with a mixture of frame styles and colours to display your pictures together. If you need some inspiration be sure to check out our wall art sets, which are especially created to be hung together.

Now you’re an expert on hanging your artwork, why not take a browse at our new arrivals to find the next addition to your artwork collection.